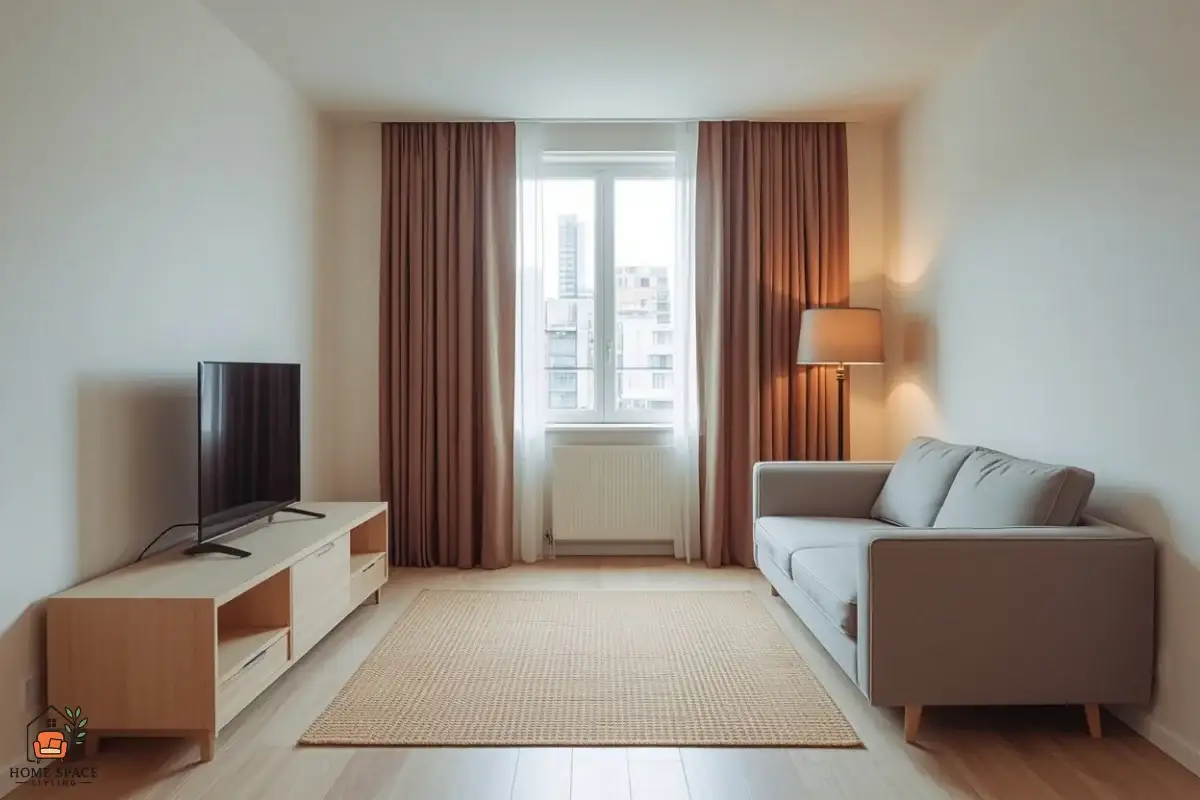
15 Studio Apartment Setup Ideas to Nail Before You Move a Single Box
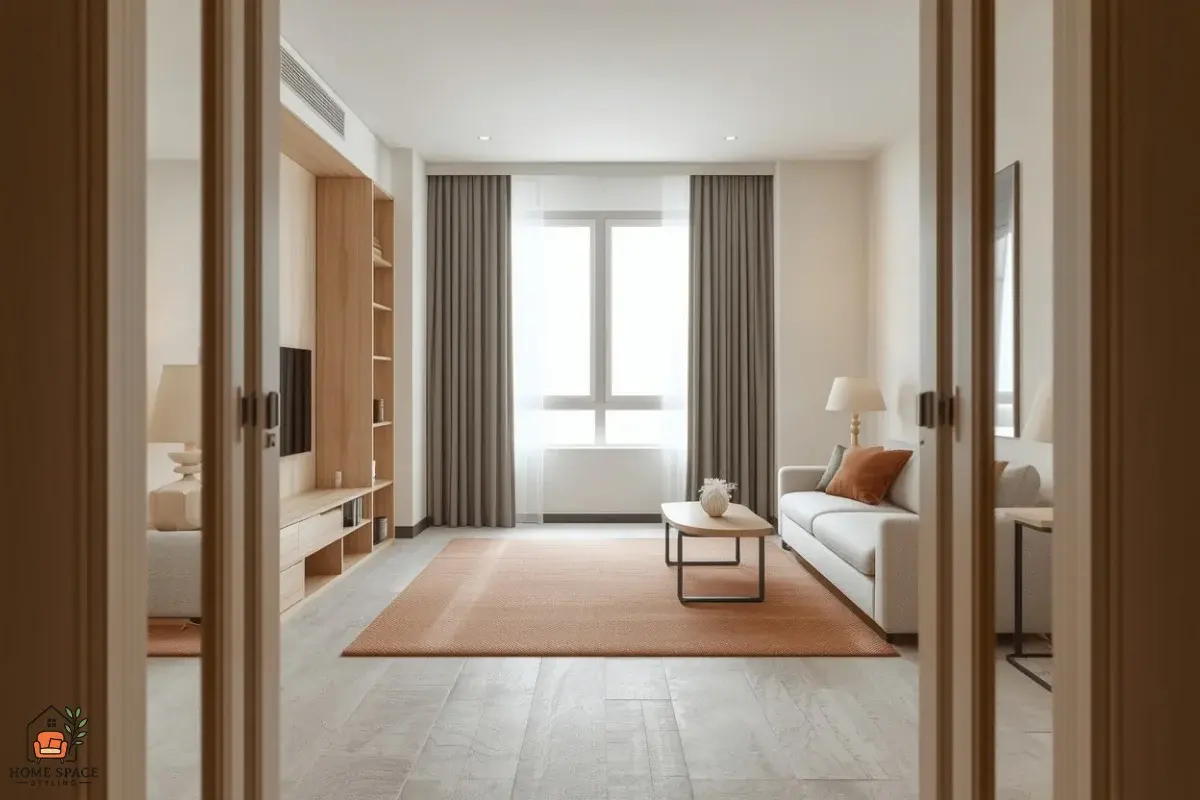
A studio works best when every zone is planned before the first box comes in.
Studio apartments reward the people who plan. The same 400 to 500 square feet can feel like a cramped box or a calm, layered home, and the difference is usually decided before the first box comes through the door. These 15 studio apartment setup ideas walk you through measuring, zoning, storage, and lighting while the room is still empty and every change is free. Use them as a checklist, take photos of the space, and you will arrive on move-in day knowing exactly where the bed, the sofa, and the desk are going.
This post contains affiliate links. As an Amazon Associate, I earn from qualifying purchases. If you buy through these links, I may earn a small commission at no extra cost to you.
Decide the Big Moves While the Room Is Still Empty
An empty studio is the best planning tool you will ever have. Furniture decisions made after unpacking tend to follow wherever the boxes landed, and in one room that means the layout is accidentally decided for you. Work in a simple order: measure first, mark the floor second, assign zones third, and only then buy. A sofa that is six inches too deep or a bed that blocks the window costs far more here than in a two-bedroom, because there is nowhere else for it to go.
1. Measure Every Wall, Door Swing and Window
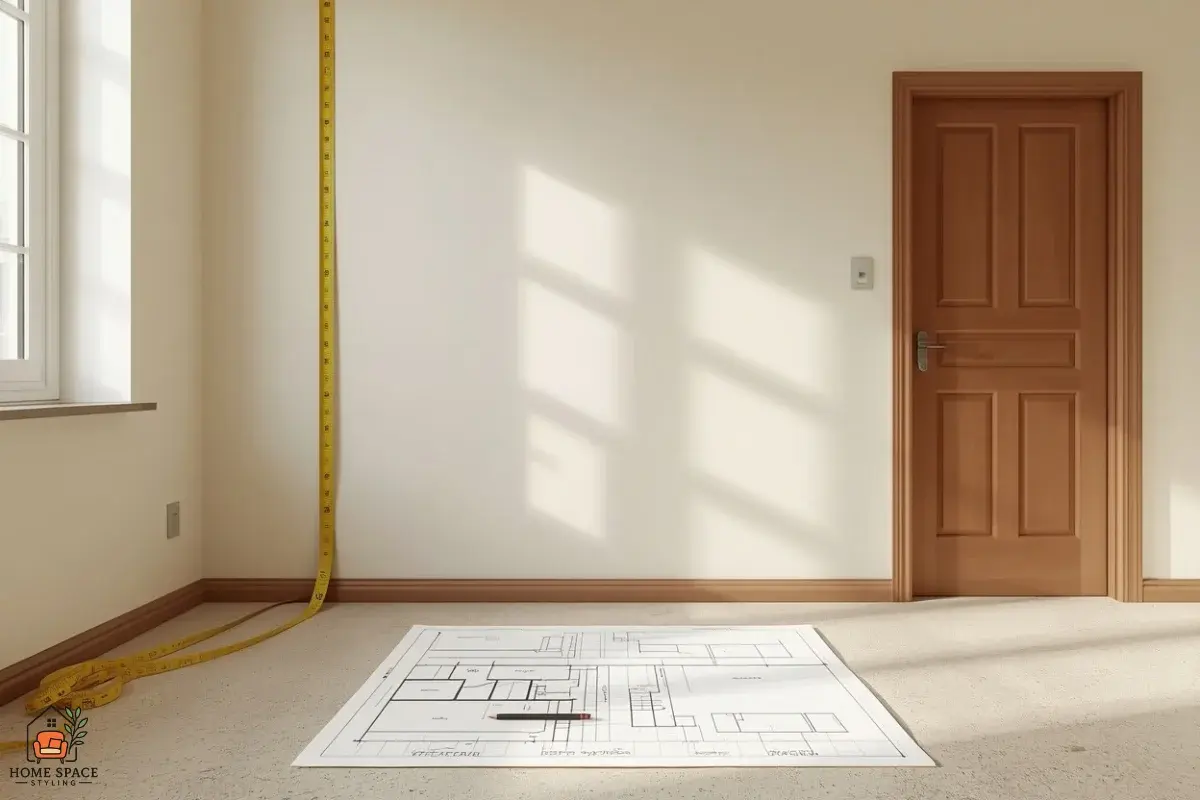
Measure every wall, door swing and window before you buy a single piece.
Grab a tape measure and record every wall length, the ceiling height, window sill heights, and how far each door swings. Studio floor plans are often off by a few inches, and a few inches decide whether a dresser fits beside the bed. Sketch the room on graph paper at one square per foot, then mark outlets, vents, and radiators so you never block them. Photograph each wall straight on as well. Those photos are a lifesaver when you are standing in a store at Target or IKEA trying to remember whether that 30-inch bookcase will actually clear the window.
EDITOR’S PICK
🛒Measure Every Wall, Door Swing and Window
A locking 25-foot tape and a pad of graph paper cost less than a single wrong-sized shelf.
(paid link)
2. Tape Furniture Footprints on the Floor
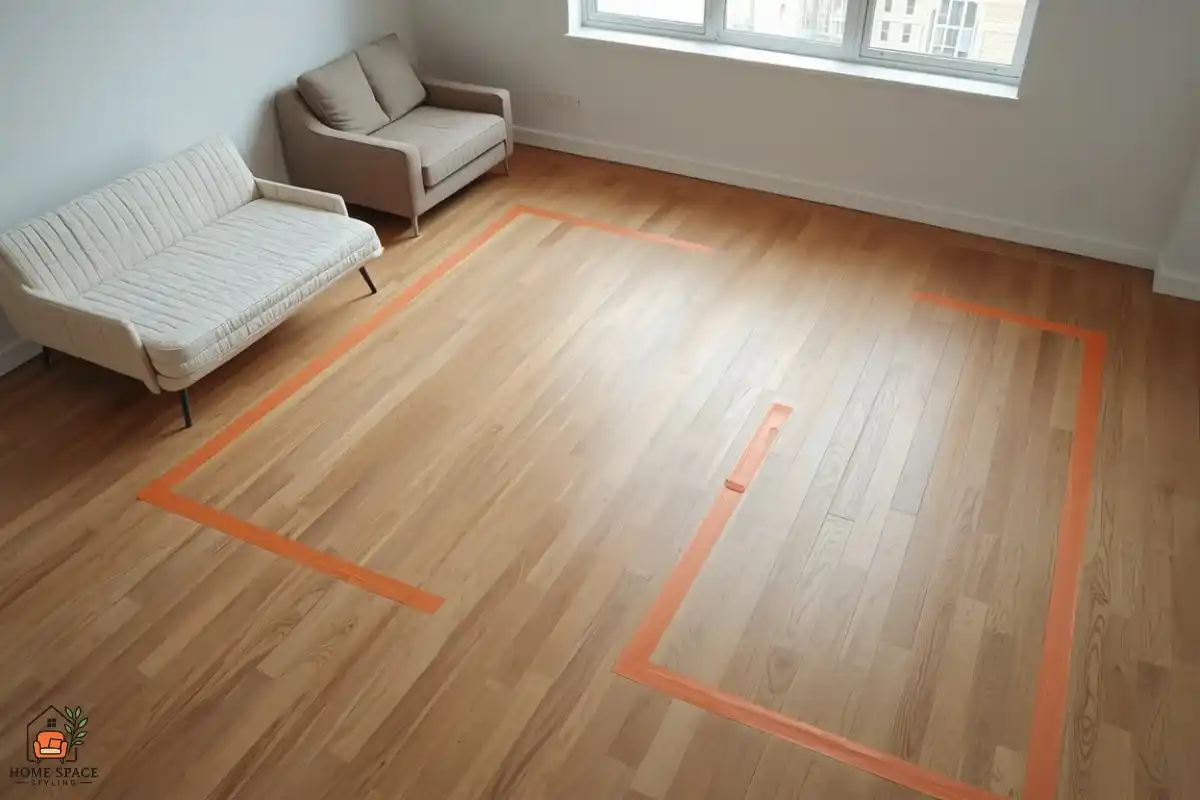
Painter’s tape footprints show which layout works before anything is delivered.
Painter’s tape is the cheapest design software in existence. Outline the bed, sofa, desk, and dining table at their real sizes on the floor, then walk the room as if you already live there. Can you reach the closet without turning sideways? Does the bed block the window? Leave 30 to 36 inches of clear path through the main walkways, and keep moving the tape until the room feels easy instead of clever. Low-tack painter’s tape lifts off without marks, which matters when the floor belongs to your landlord and the deposit is on the line. Snap a photo of the final layout so you can follow it on move-in day.
EDITOR’S PICK
🛒Tape Furniture Footprints on the Floor
Pick the delicate-surface version so it peels cleanly off hardwood and laminate after a week of testing.
(paid link)
3. Zone the Room With Rugs
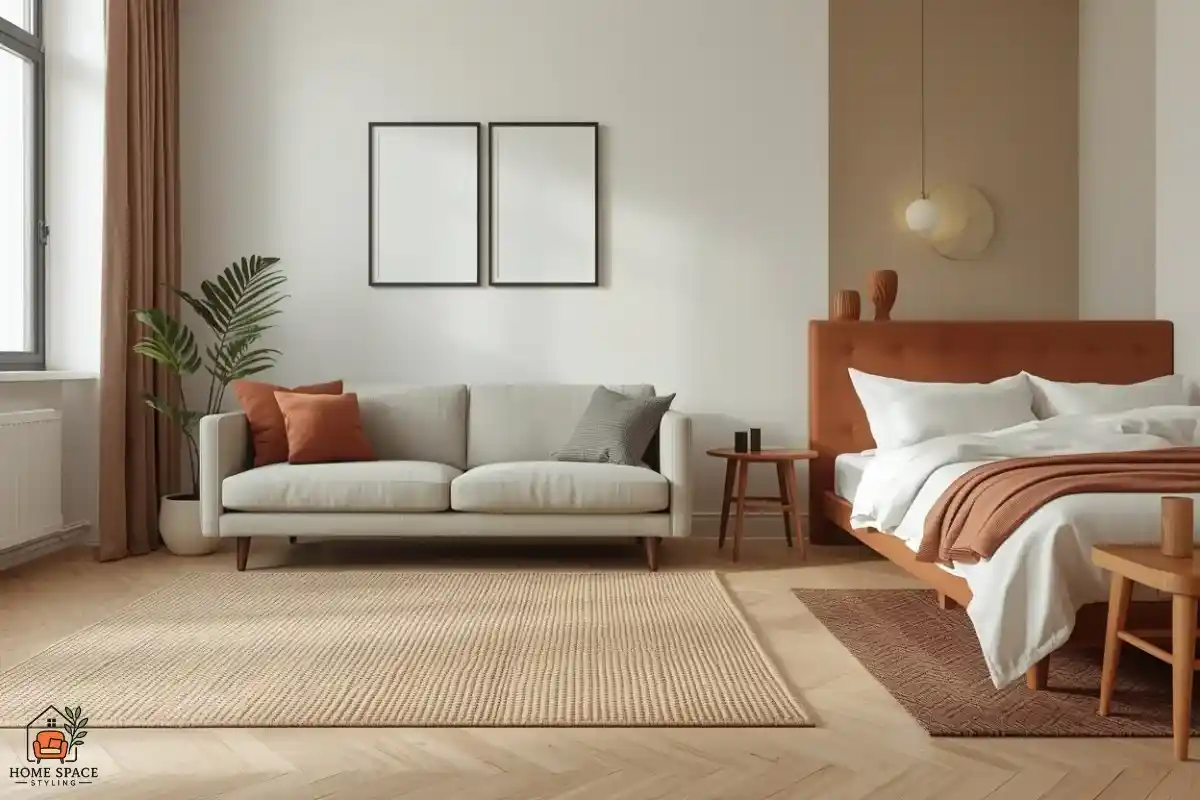
Two rugs mark the living zone and the sleeping zone without building a single wall.
Without walls, rugs tell your eyes where one activity ends and the next begins. Put one under the sofa area to anchor the living space, then use a different size or texture near the bed so sleeping feels separate from lounging. Keep at least the front legs of the sofa on the rug, and size up: a 5×8 rug in a studio usually looks bigger and calmer than a small 3×5 that seems to float. Flat-weave rugs are easy to vacuum, slide under doors, and lie flat without slipping, which is a bonus in rentals with thin carpet or tile.
EDITOR’S PICK
🛒Zone the Room With Rugs
Add a thin non-slip pad underneath so corners stay flat and the rug never creeps toward the walkway.
(paid link)
4. Divide Sleeping From Living With a Bookcase
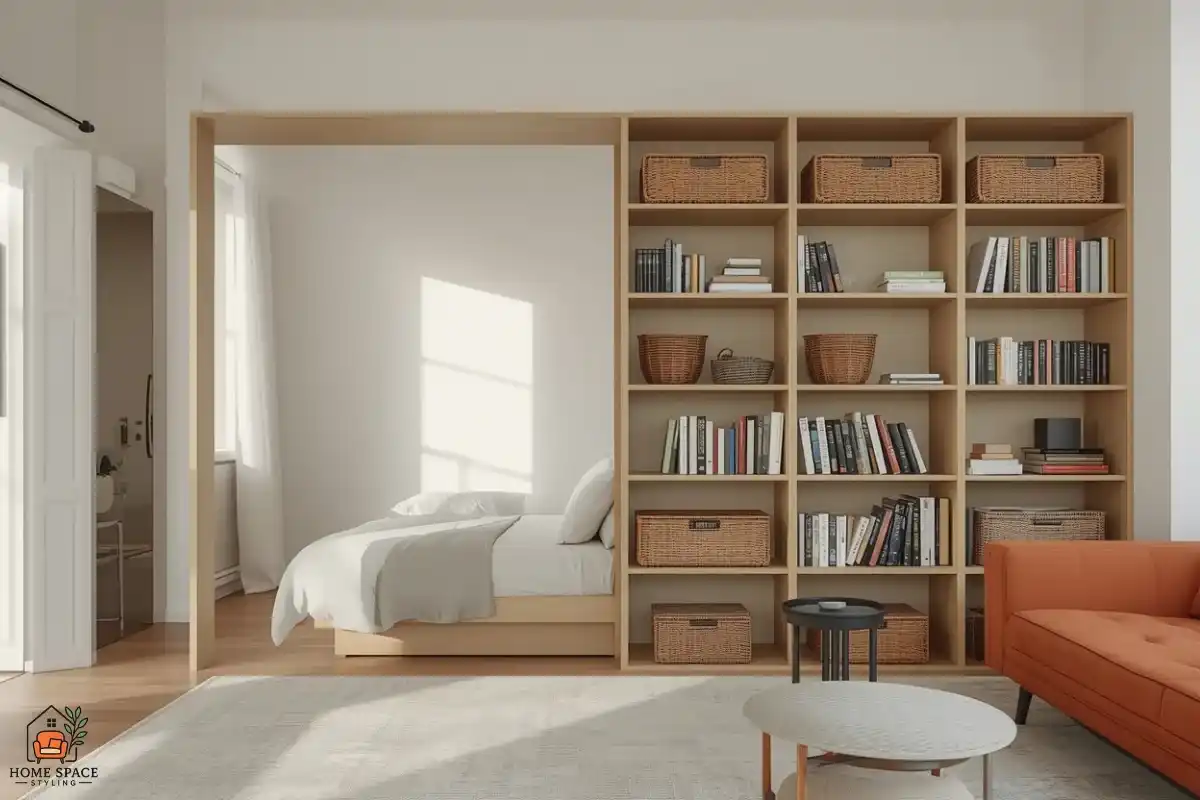
An open-back bookcase separates bed and sofa while daylight keeps flowing through.
A low or open-back bookcase turns one big room into two without blocking light. Set it perpendicular to the wall at the foot of the bed, or behind the sofa, and load the bed side with baskets while the living side holds books and plants. An open back keeps sightlines clear so the studio does not feel chopped up. Aim for a divider roughly 40 to 55 inches tall so it separates the zones without feeling like a wall. If the shelving wobbles even slightly, add anti-tip wall straps; they hide neatly and take about five minutes to install. Both sides of the divider stay useful this way.
EDITOR’S PICK
🛒Divide Sleeping From Living With a Bookcase
Cube units let you mix open shelves and fabric bins, so one piece hides clutter and displays favorites.
(paid link)
5. Choose a Bed That Earns Its Floor Space
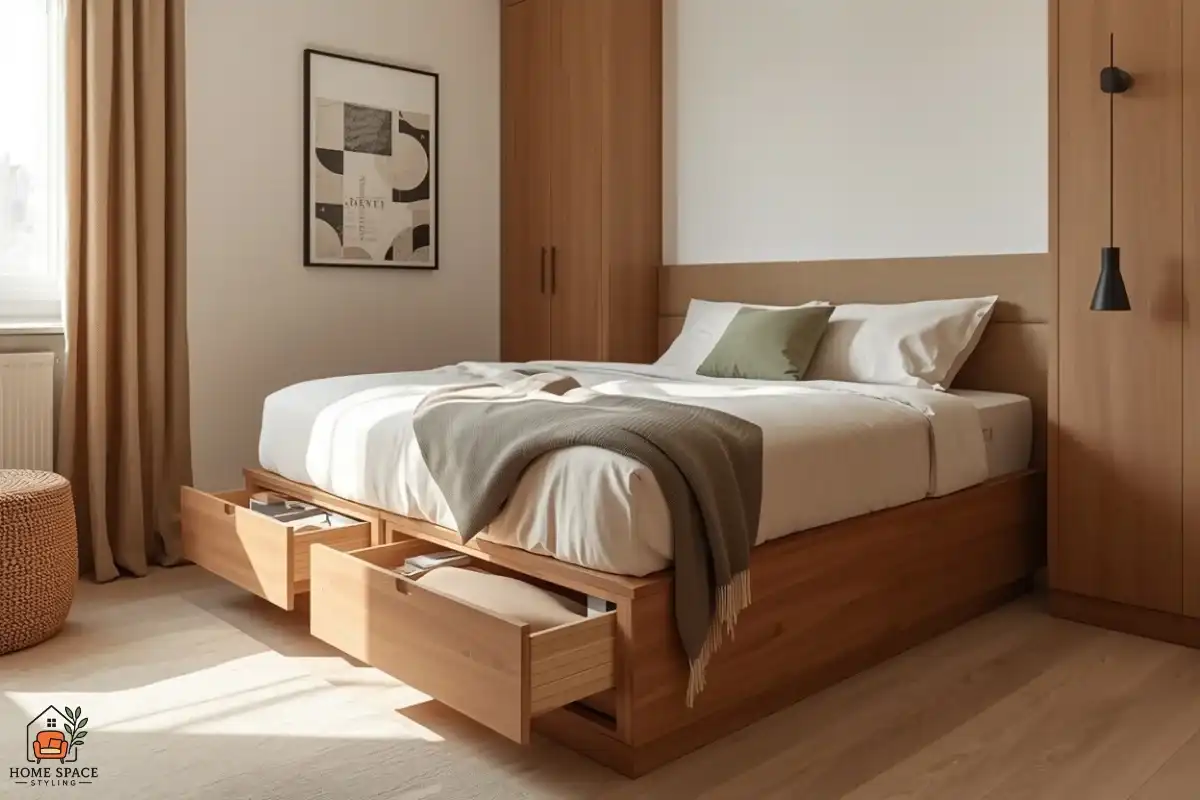
Drawers under the bed hand floor space back to you.
The bed takes the biggest bite out of a studio, so make it work twice. A storage bed with drawers, a platform bed with open space beneath for bins, or a daybed that doubles as seating all hand square footage back to you. Measure the clearance to windows and radiators before you buy, and check that the frame feet will not scratch the floor; felt pads solve that for a few dollars. Skip bulky headboards with built-in shelves unless the room is wide. A slim upholstered headboard saves several inches of depth and still looks finished. Always compare the frame height with your window sill before you order.
EDITOR’S PICK
🛒Choose a Bed That Earns Its Floor Space
Check the drawer pull-out depth against your tape outline so the drawers still open fully.
(paid link)
6. Build Up With Tall, Narrow Storage
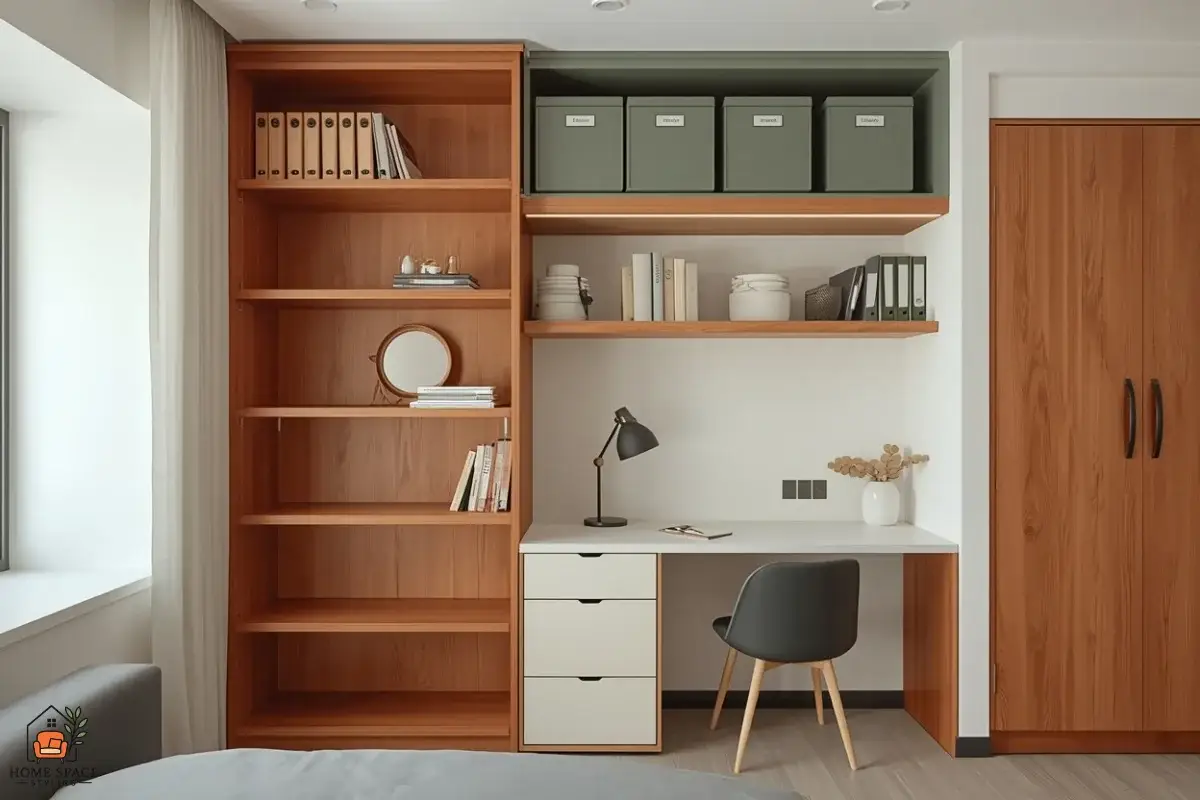
Tall, narrow storage uses the wall space a studio never runs out of.
When floor space runs out, walls become your only free real estate. Choose tall, narrow pieces such as a 12-inch-deep bookcase or a slim wardrobe that stretches close to the ceiling, and use the top shelf for off-season items in labeled boxes. Anchor every tall piece to the wall with the straps that come in the box. Wall-mounted shelves above the desk and the sofa add storage without touching the floor, and floating versions look lighter than a wall of bulky cabinets. Keep the heaviest items low and the lightest ones high so everything stays stable. Measure the ceiling height first so nothing gets stuck on the way up.
EDITOR’S PICK
🛒Build Up With Tall, Narrow Storage
Shallow depth keeps walkways open while still giving you five or six shelves of storage.
(paid link)
7. Layer Three Kinds of Light
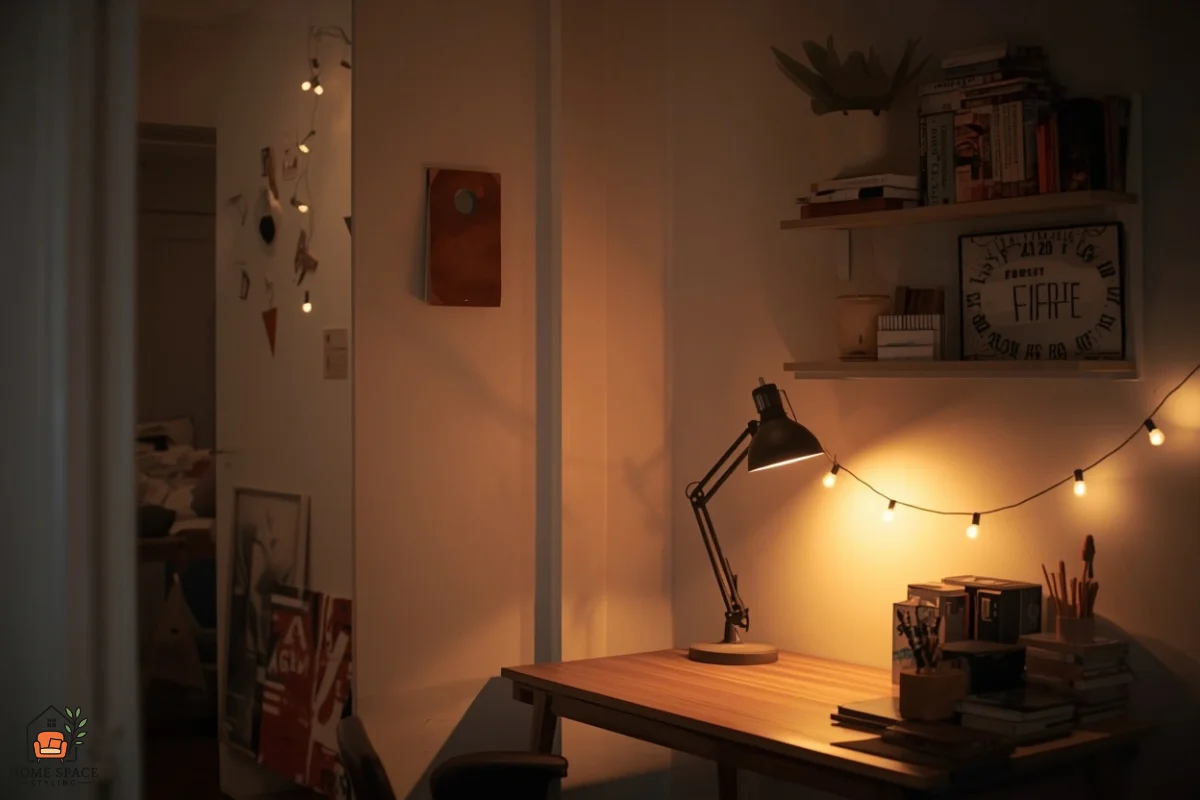
Three layers of warm light make one room feel like several cozy corners.
One harsh ceiling fixture flattens a studio. Plan three layers for each zone: ambient light from a floor lamp, task light from a desk or reading lamp, and accent light from a string light or a small table lamp. Plug-in wall sconces with a cord cover skip the electrician, which is ideal for renters, and warm bulbs around 2700K make the whole room feel cozier after dark. Place lamps at different heights so light reaches the corners, and put a smart plug on the set so one tap switches the whole room from evening to bedtime mode. Start with the zone you use most, then add layers as you go.
EDITOR’S PICK
🛒Layer Three Kinds of Light
Dimmable versions let one lamp handle both reading and winding down at night.
(paid link)
8. Make the Entry a Real Drop Zone
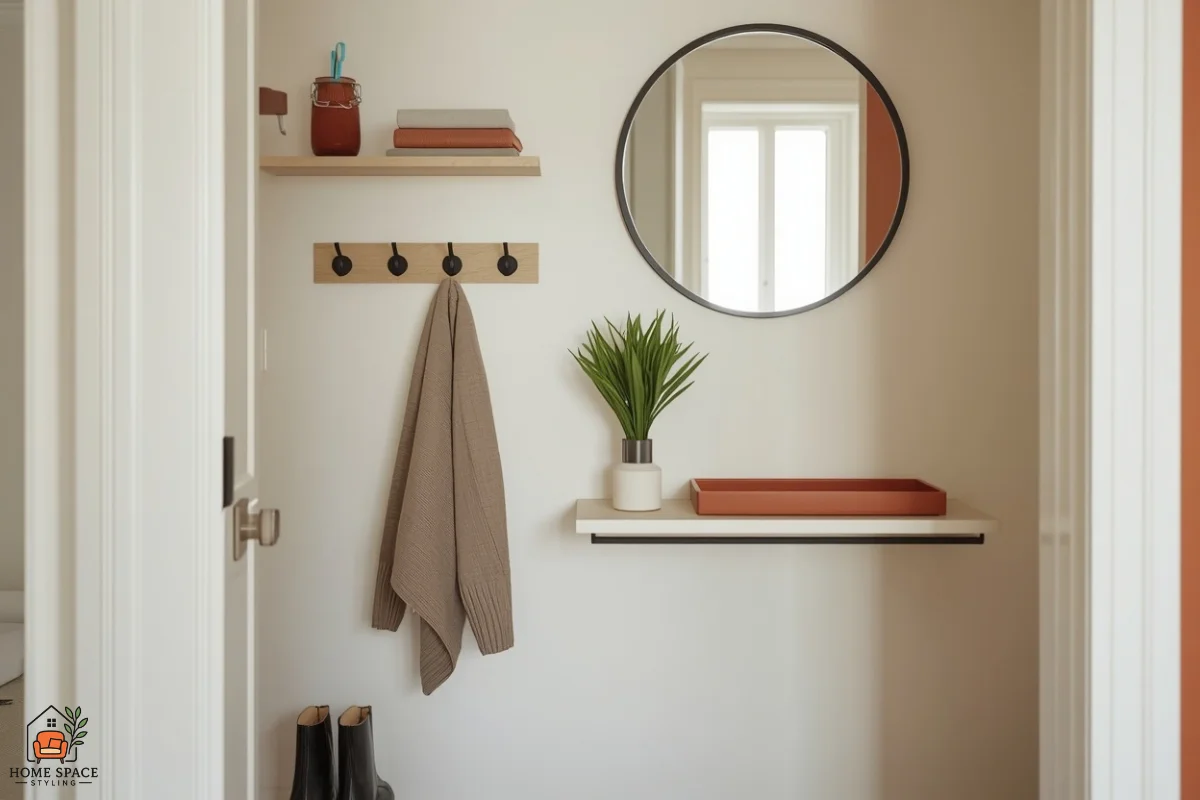
Hooks, a shoe tray and a slim shelf turn the entry into a clutter catcher.
Most studios open straight into the living space, so clutter at the door spreads everywhere fast. Create a small landing strip with a row of adhesive hooks, a narrow shoe tray and a slim shelf or wall pocket for keys, mail and a charging cable. Even 24 inches of wall is enough to make this work. The tray keeps wet shoes off your rug, and a mirror above the hooks gives you a last check before you leave while bouncing light further into the room. Decide on this spot before move-in so the habit starts on day one. Keep it simple and visible so you actually use it.
EDITOR’S PICK
🛒Make the Entry a Real Drop Zone
Check the hook weight rating before hanging a heavy coat or bag on adhesive strips.
(paid link)
9. Pick a Table That Folds, Drops or Extends
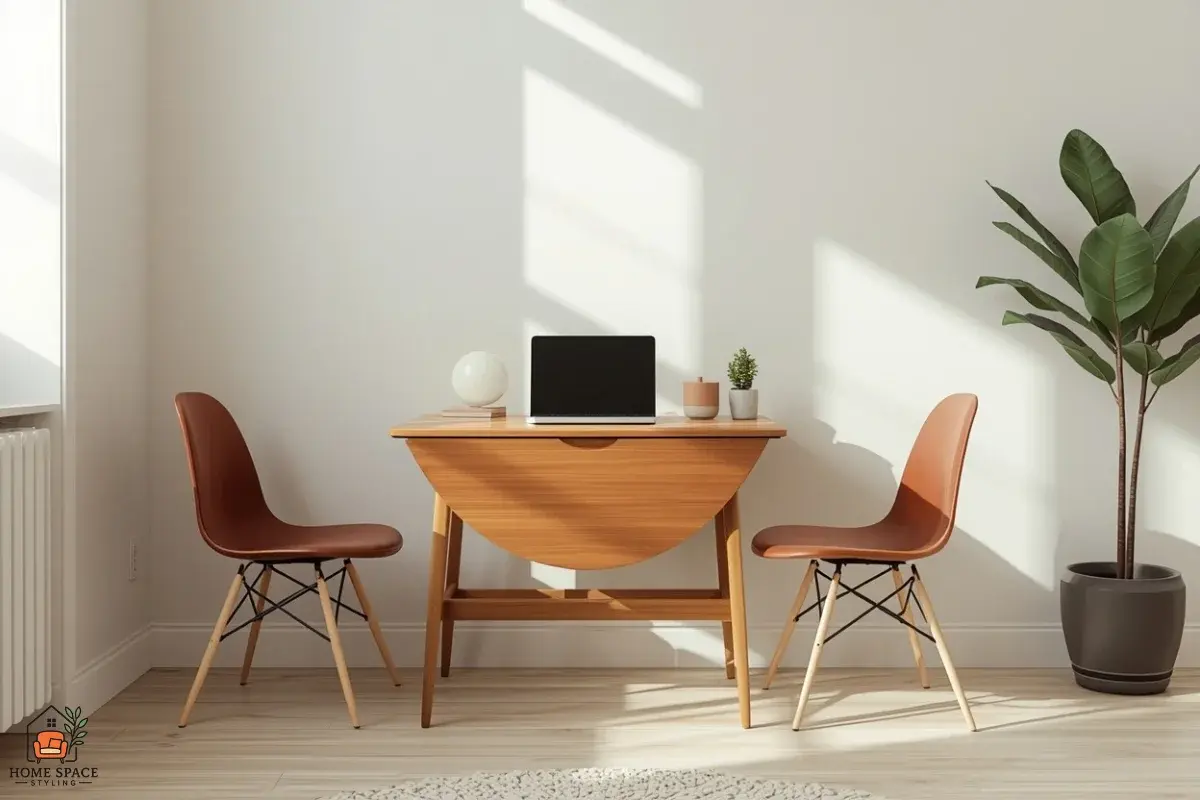
A drop-leaf table folds away so the floor stays free when you are not using it.
A permanent dining table can swallow a quarter of a studio. A drop-leaf table, a wall-mounted fold-down desk or a small round table with a pedestal base keeps the floor open when you are not eating or working. Round edges are kinder in tight walkways, and a pedestal base means fewer chair-leg collisions. If you work from home, a slim console that doubles as a desk lets one spot handle breakfast, laptop time, and dinner for two without any rearranging. Measure the folded depth, not just the open size, before you decide. Folding furniture is a quiet way to gain several square feet back every single day.
EDITOR’S PICK
🛒Pick a Table That Folds, Drops or Extends
Wheels or a wall-hung design make it easy to tuck away on busy days.
(paid link)
10. Hang Mirrors Where They Borrow Light
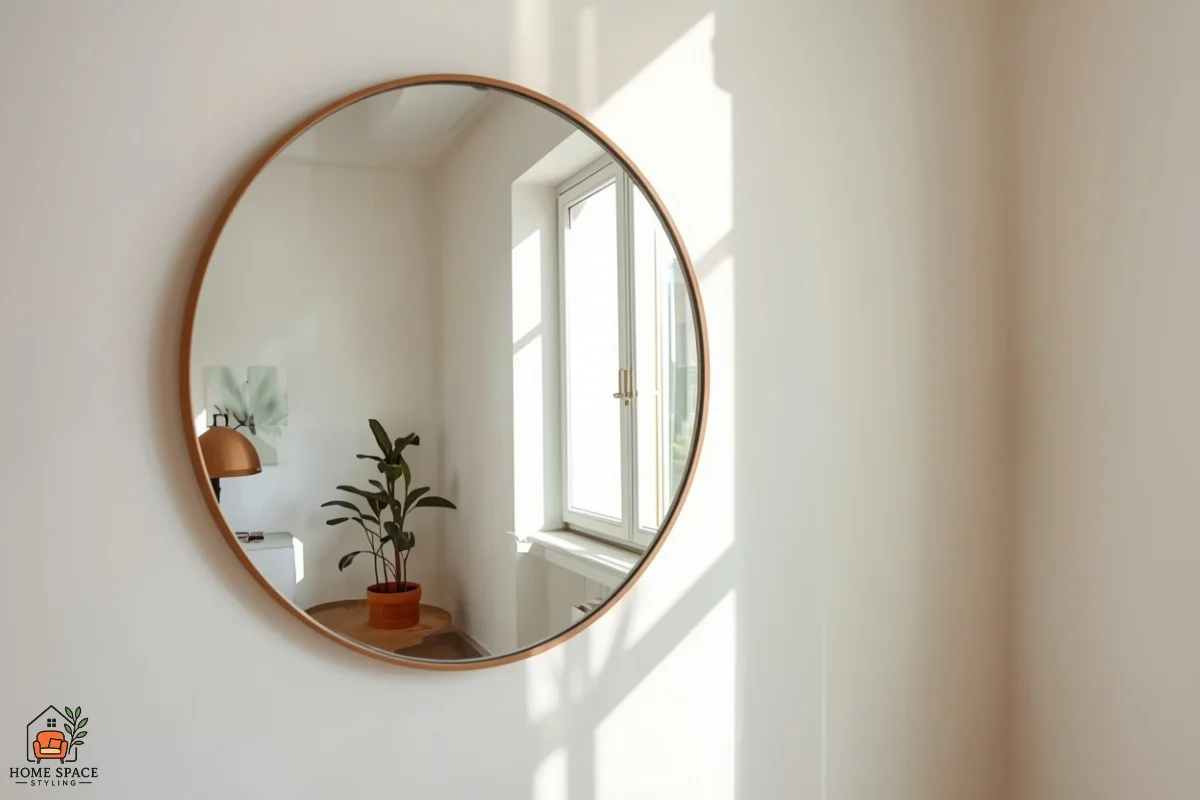
A large mirror opposite the window doubles the daylight in the room.
A mirror placed opposite or beside a window can double the daylight in a studio. Lean a tall floor mirror near the bed or hang a large round mirror over the sofa, then check what it reflects: a plant or a window is lovely; a pile of laundry is not. For rentals, use heavy-duty adhesive strips rated well above the mirror’s weight, or lean it against the wall so no holes are needed. Skip tiny mirrors in a small room. One large mirror beats three small ones, because it opens up the wall instead of cluttering it. Check the reflected angle from your bed and sofa before you commit to a spot.
EDITOR’S PICK
🛒Hang Mirrors Where They Borrow Light
A thin frame keeps the look light so the mirror reflects the room, not itself.
(paid link)
11. Hang Curtains High and Wide
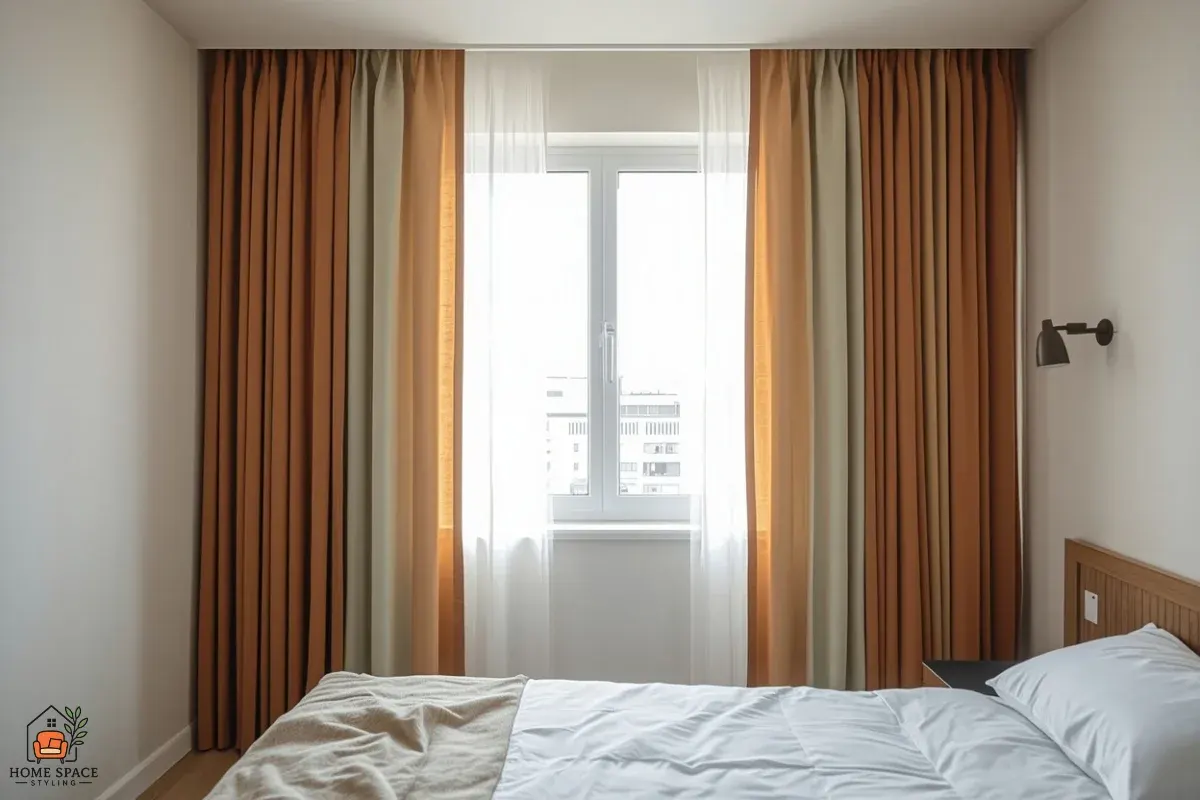
Curtains hung high and wide make the ceiling feel taller and the window larger.
Mounting the curtain rod 4 to 6 inches above the window frame, and extending it past each side, makes ceilings feel taller and windows feel larger. Floor-length panels in a light-filtering fabric soften echo and add a cozy layer that a bare window cannot. A tension rod works in many rentals without drilling, and room-darkening liners help if your bed sits near the glass. Keep the fabric simple and pull the panels fully open during the day so the window does the work of lighting the room. Measure the ceiling height first so panels skim the floor. Measure the full window width, too, before choosing the rod length.
EDITOR’S PICK
🛒Hang Curtains High and Wide
Buy panels about two inches longer than your measurement, then hem or tuck as needed.
(paid link)
12. Plan Under-Bed and Under-Sofa Storage
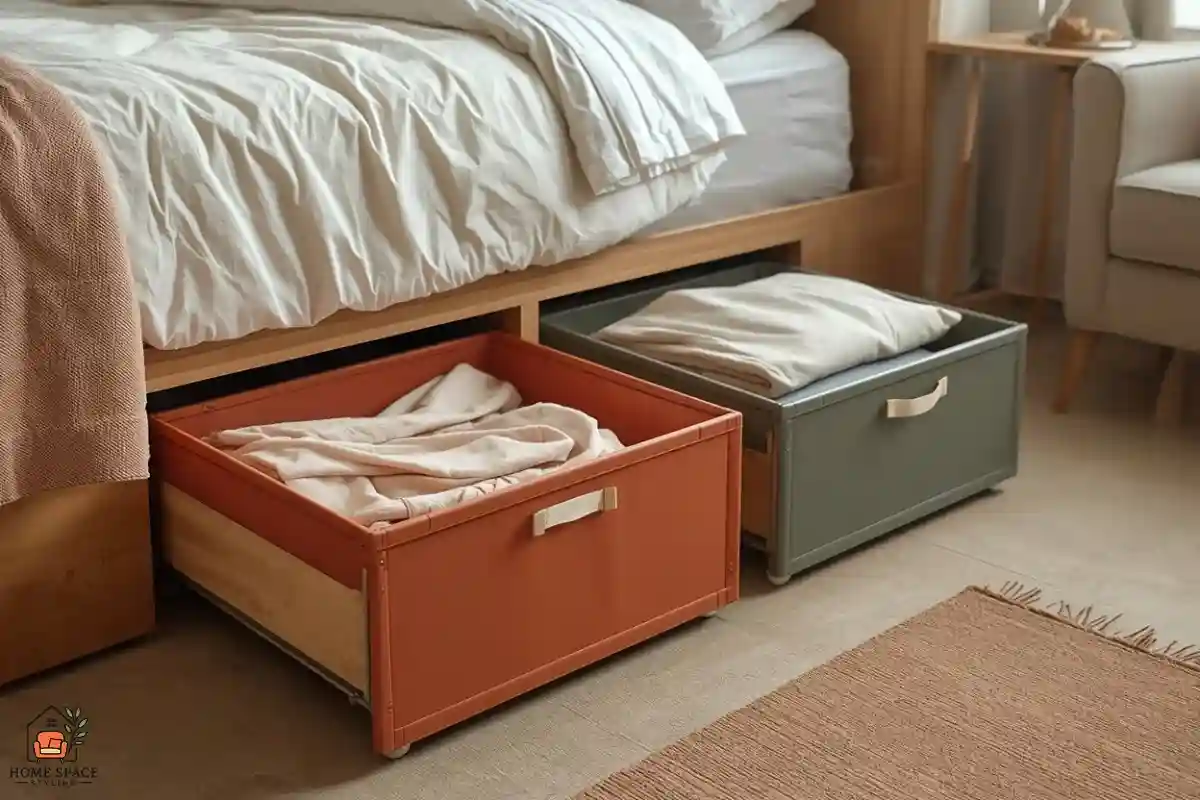
Wheeled bins slide out in one motion, so under-bed storage actually gets used.
The space beneath furniture is the most overlooked storage in a studio. Measure the clearance under the bed and sofa, then buy flat bins with wheels or lids that match. Use them for off-season clothes, spare bedding, or shoes you rarely wear. Test the system early: if you can slide a bin out with one hand, you will actually use it, and if it takes effort, it becomes dead storage. When you need more room, sturdy bed risers in the 4- to 8-inch range add serious capacity, provided the bed frame allows it and the legs stay stable. Label every bin so the contents are easy to find later.
EDITOR’S PICK
🛒Plan Under-Bed and Under-Sofa Storage
Clear lids make contents easy to spot without pulling every bin out.
(paid link)
13. Double Your Closet Before You Fill It
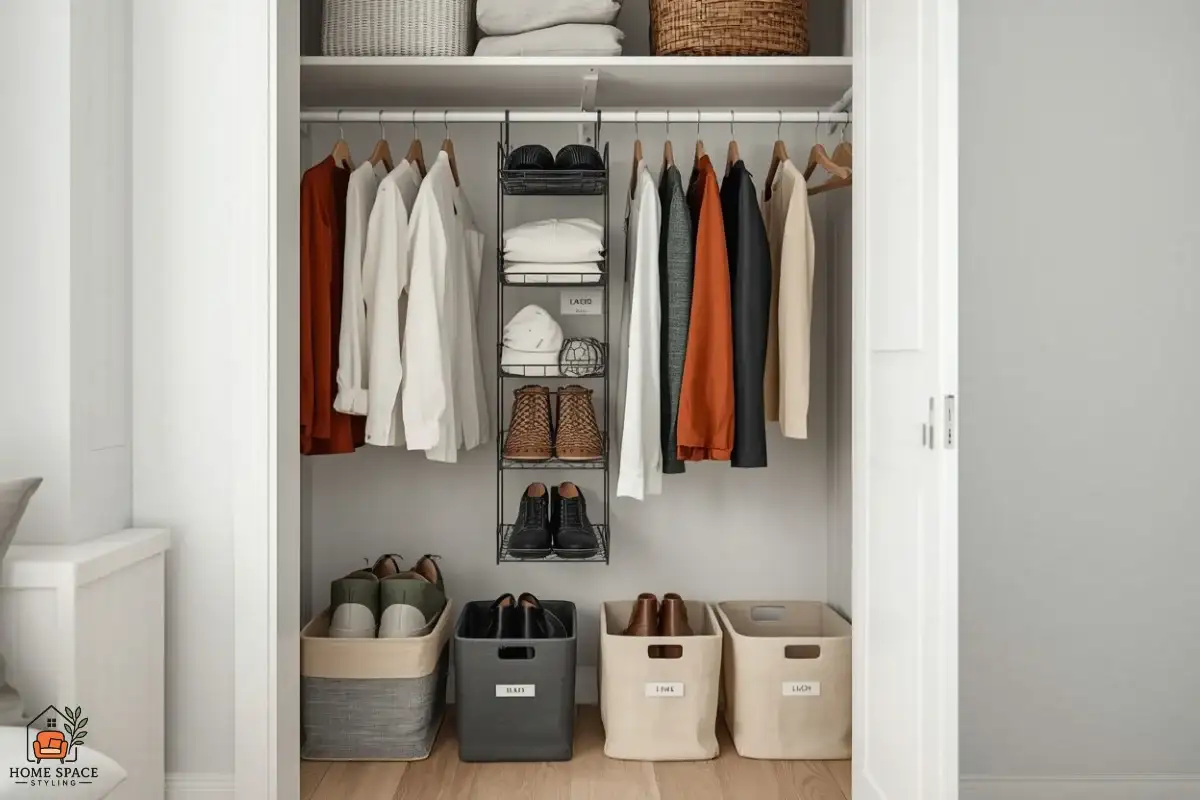
A second rod and an over-the-door organizer double the closet before you move in.
Studio closets are usually one rod and one shelf. Add a second hanging rod to double the hanging space, hang an over-the-door organizer for shoes and accessories, and switch to slim hangers to reclaim inches. Put short items on the top rod and long ones below so the floor stays free for bins. Do this before you move your clothes in, because it is far easier to install while the closet is empty, and everything lands in its permanent spot from the first day. Label the bins so a glance tells you where winter or gym clothes live. This also keeps the floor clear for a hamper or a pair of boots.
EDITOR’S PICK
🛒Double Your Closet Before You Fill It
Pick adjustable rods that hang from the existing bar, so no drilling is needed.
(paid link)
14. Stage the Kitchenette Vertically
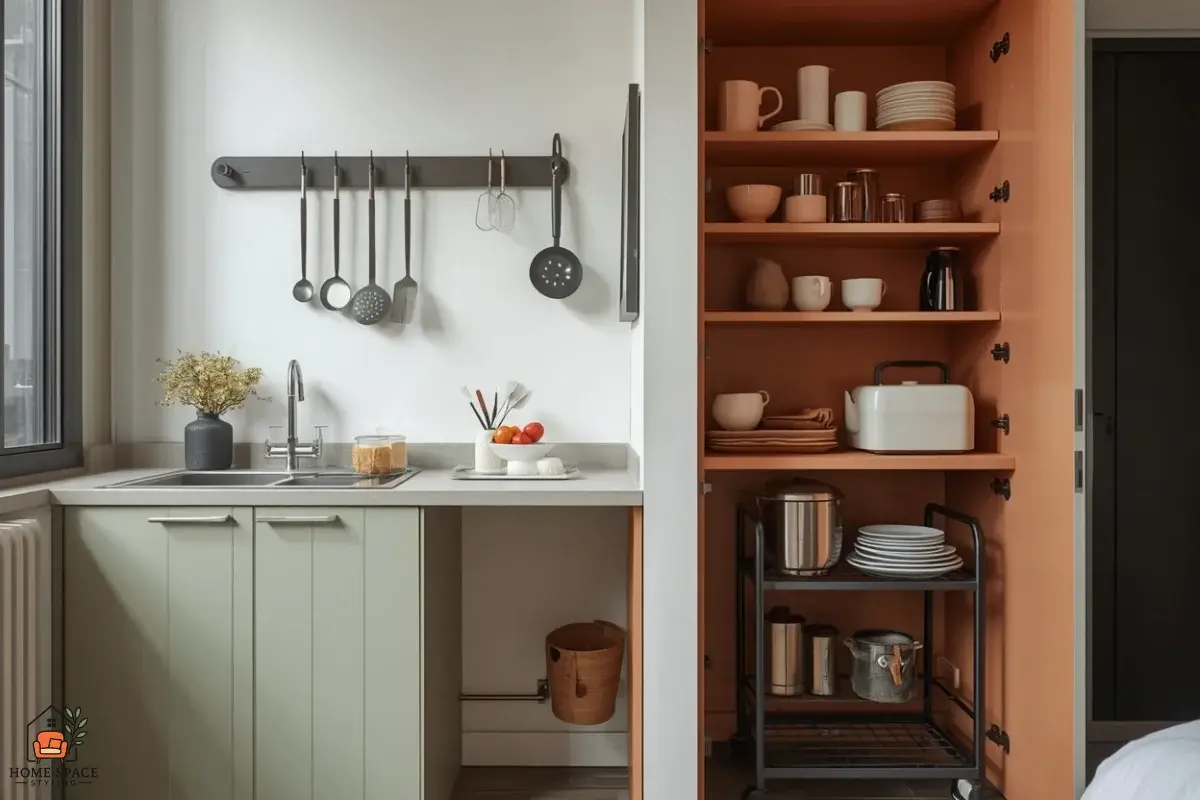
A wall rail and a magnetic strip free up counter space in a tiny kitchenette.
With only a few feet of counter, use the walls and cabinet doors. A rail with hooks holds pans and utensils, a magnetic strip keeps knives off the counter, and a tiered shelf inside a cabinet doubles dish space. A dish rack that sits over the sink frees even more surface. Decide where the small appliances will live before they come out of their boxes: if the toaster has no home, it becomes permanent counter clutter. A narrow rolling cart can fill an awkward gap and wheel out of the way whenever you need extra floor space for cooking or guests.
EDITOR’S PICK
🛒Stage the Kitchenette Vertically
Adhesive-mount rails work on tile and smooth cabinet fronts, with no screws required.
(paid link)
15. Pack a First-Night Box and Unpack by Zone
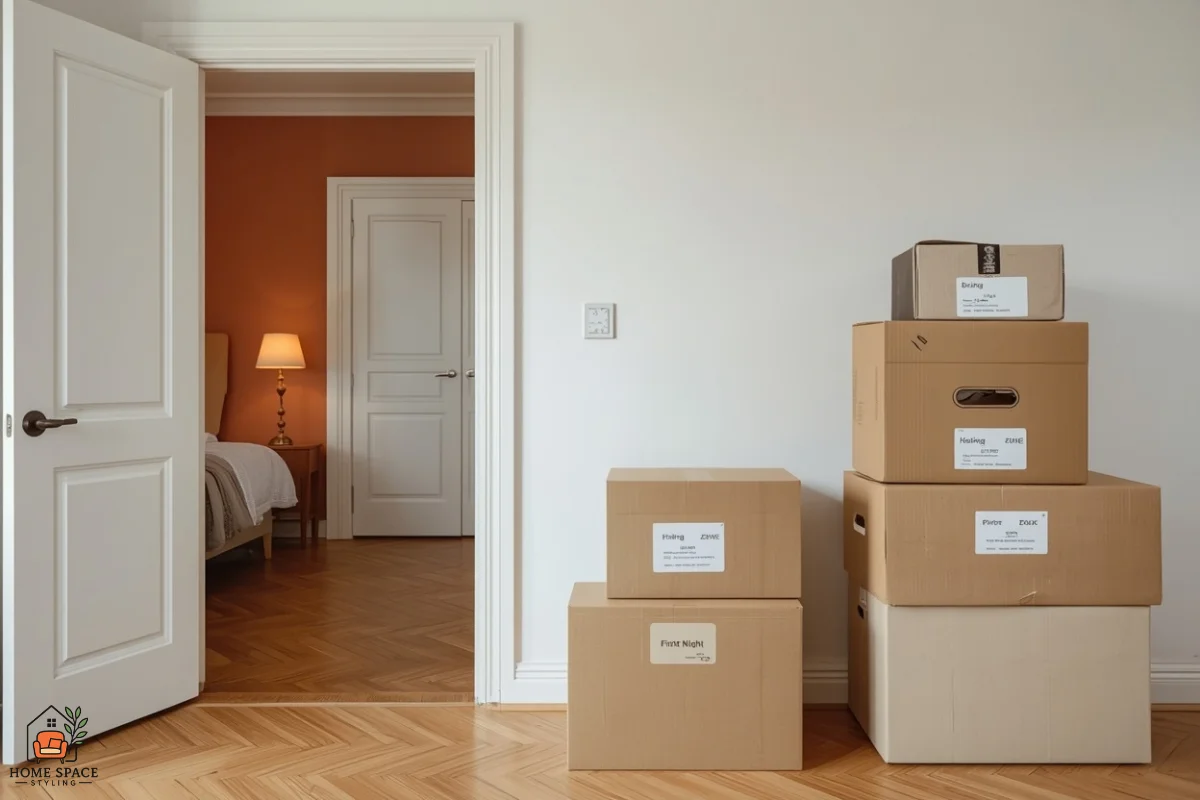
A labeled first-night box by the door makes the first evening easy.
Pack one clearly labeled box with sheets, a shower curtain, toiletries, chargers, a lamp, and basic kitchen items, and carry it in yourself so it never gets buried. On move-in day, unpack zone by zone rather than room-wide: the sleeping area first, then the bathroom, then the kitchenette, then the living area. Flatten empty boxes as you go so they do not pile up in the one room you also sleep in. By the end of the first night, you have a made bed, a working light, and a clear floor, which turns a chaotic day into a manageable one.
EDITOR’S PICK
🛒Pack a First-Night Box and Unpack by Zone
Color-coded labels by zone let helpers drop each box in the right corner of the room.
(paid link)
Want more layouts and fixes like these? You can browse all our studio apartment ideas any time you need a fresh angle for a tricky corner.
Quick Action Plan
- Start by measuring every wall and taping furniture footprints on the floor, then zone the room with rugs and one open divider before buying a single piece.
- Add three layers of light and tall, narrow storage next, and finish by packing a first-night box so move-in day ends with a made bed and a clear walkway.
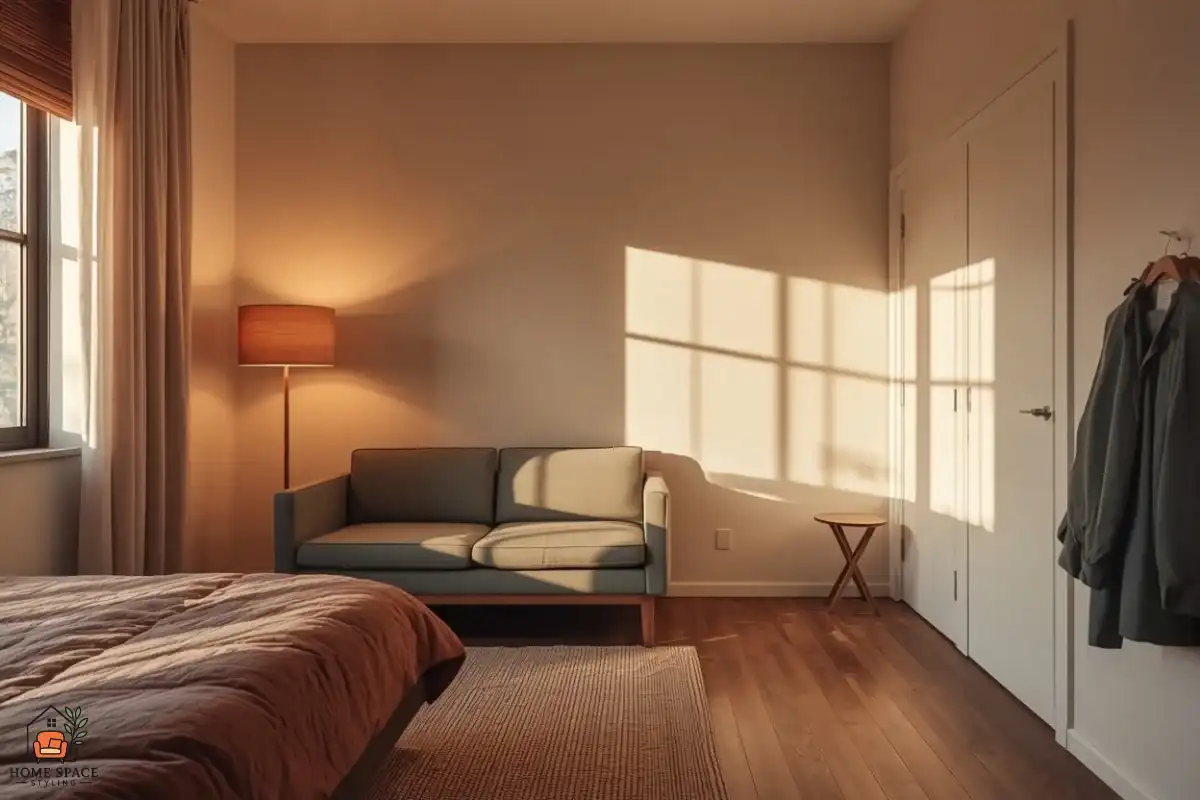
Plan the zones first, and every corner has a job when the boxes are gone.
Frequently Asked Questions
Conclusion
Every studio can feel like a real home when the planning happens before the boxes do. Measuring, taping out furniture, and giving each zone its own rug, light, and storage means you are making decisions once, calmly, instead of rearranging for weeks. Pick the three ideas from this list that fix your biggest problem and do those first. The rest can follow at your own pace as the room settles. A small space gets easier to live in with every smart choice you make early, and your first night in the new place will show exactly how much that planning is worth.
Save this to your Studio Apartment Ideas board on Pinterest so your move-in checklist is ready the day the boxes arrive.